Cleaning an oven to make it sparkle like new involves several methods, including an all-natural baking soda and vinegar paste, commercial oven cleaners, or utilizing a self-cleaning oven feature. For a deep clean, a good rule of thumb is every 3 to 6 months, depending on usage, ensuring better-tasting food and a safer kitchen environment. Always ensure the oven is cool and unplugged before starting any cleaning process, and ventilate the area well.
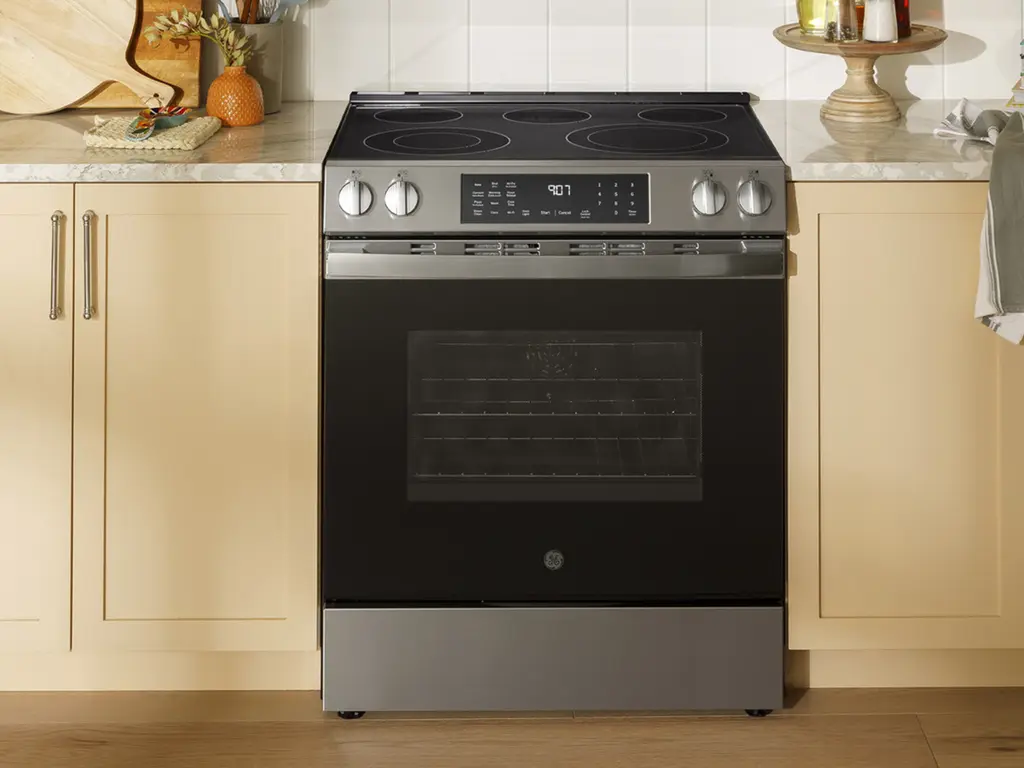
Why a Clean Oven is Your Secret Kitchen Weapon
A dirty oven is more than just an eyesore. Baked-on food and grease can smoke, setting off smoke alarms and imparting a burnt flavor to food. In extreme cases, heavy grease buildup can even be a fire hazard. A clean oven heats more efficiently and evenly, ensuring your favorite baking recipes turn out perfectly every time. It’s a simple step that makes a world of difference.
Before You Start: Your Safety and Prep Checklist
Alright, ready to go? Hold on for just a second. A little prep work makes the entire process smoother and safer. It’s like mise en place for cleaning!
- Safety First: Always make sure your oven is completely cool and turned off. For electric ovens, it’s a good practice to unplug it or turn it off at the circuit breaker.
- Ventilate: Open a window or turn on your kitchen’s exhaust fan. Some cleaning methods, especially with commercial products, can create fumes.
- Gear Up: Grab some rubber gloves to protect your hands, and maybe some safety glasses to protect your eyes from any splashes.
- Empty It Out: Remove everything from the oven—racks, pizza stone, thermometers, and any large, loose pieces of burnt food. We’ll tackle the racks separately.
- Protect Your Floors: Lay down some old newspapers or paper towels on the floor in front of your oven to catch any drips.
How to Clean an Oven: The Ultimate Guide
Now for the main event! There are a few tried-and-true methods for getting your oven gleaming. Whether you prefer an all-natural approach or the power of a commercial cleaner, we’ve got you covered.
The All-Natural DIY Method: Baking Soda and Vinegar
This is my go-to method. It’s cheap, effective, and uses ingredients you probably already have. It just requires a little patience and elbow grease.
- Create the Paste: In a small bowl, mix about 1/2 cup of baking soda with 3 tablespoons of water. Adjust the ratio as needed until you have a thick, spreadable paste, kind of like cake frosting.
- Coat the Oven: Using your gloved hands or a spatula, spread the paste all over the interior surfaces of your oven. Don’t put it on the heating elements! Get into all the corners and coat those really stubborn, burnt-on spots. The paste will turn brownish as you spread it—that’s normal.
- Let It Sit: This is the magic part. Close the oven door and let the paste sit for at least 12 hours, or overnight. This gives the baking soda time to work its magic and break down all that grime.
- Wipe It Out: After its long rest, take a damp dishcloth and wipe out as much of the dried baking soda paste as you can. A plastic or silicone spatula can help scrape off any particularly stubborn bits.
- The Vinegar Spray: Put a little white vinegar in a spray bottle. Spray it anywhere you still see baking soda residue. The vinegar will react with the baking soda and foam up gently.
- Final Wipe-Down: With your damp cloth, give the oven one last wipe-down. Keep rinsing your cloth until all the residue is gone. You’ll be amazed at the shine!
The Commercial Cleaner Route: Fast and Powerful
Bảng trống.Sometimes, you’re faced with an oven so daunting that you need to bring in the big guns. Commercial oven cleaners are incredibly effective, but you must follow the safety instructions to the letter.
- Read the Label: Seriously, read the entire label first. Every brand is slightly different. Pay close attention to safety warnings and instructions.
- Protect Everything: In addition to your floors, consider covering your countertops and any nearby surfaces. These cleaners are potent.
- Spray and Wait: Following the product’s directions, spray the interior of your oven. Most require you to wait for 20-30 minutes.
- Wipe Clean: Use a damp sponge or cloth to wipe away the cleaner and the dissolved grime. Be thorough and make sure you get all of the chemical residue out before you use your oven again.
How to Clean Oven Racks (The Easy Way)
Don’t forget the racks! This is often the messiest part, but I have a trick that makes it a breeze.
- The Bathtub Method: Lay an old towel in the bottom of your bathtub to prevent scratches. Place the oven racks on the towel.
- Fill and Soak: Fill the tub with hot water until the racks are submerged. Add about 1/2 cup of dishwasher detergent (the powder kind works best) and swish it around.
- Let Them Marinate: Let the racks soak for at least 4 hours, or overnight for best results.
- Scrub and Rinse: The next morning, most of the grime should wipe right off with a non-abrasive scrub brush. Rinse the racks thoroughly and dry them completely before putting them back in the oven.
John Carter, a kitchen appliance expert with over 15 years of experience, emphasizes, “People often scrub racks in the sink, making a huge mess. The bathtub soak method is a game-changer. It contains the mess and lets the detergent do the heavy lifting for you.”
What About Self-Cleaning Ovens?
Many modern ovens, like some Oven Hi models, come with a self-cleaning feature. But how does it work?
The self-clean cycle heats the oven to extremely high temperatures (around 900°F or 500°C), which essentially incinerates any food residue, turning it into a fine, white ash. Once the cycle is complete and the oven has fully cooled (which can take several hours), you simply wipe out the ash with a damp cloth. It’s a fantastic, chemical-free option for a deep clean.
If your current oven is beyond saving or you’re dreaming of an effortless self-cleaning upgrade, it might be time to explore a new kitchen partner.
Keeping Your Oven Clean: Proactive Tips
The best way to tackle a dirty oven is to prevent it from getting that way in the first place.
- Wipe Up Spills Immediately: Once the oven is cool, wipe up any spills or splatters. The longer they sit, the harder they are to remove.
- Use Baking Sheets and Liners: Place a baking sheet on the rack below your bubbling casseroles or pies to catch any drips. You can also use oven liners, but be sure to check your oven’s manual first, as some manufacturers advise against them.
- Give it a Monthly Once-Over: A quick wipe-down with the baking soda paste method once a month can prevent major buildup.
Frequently Asked Questions
How often should I clean my oven?
For a deep clean, a good rule of thumb is every 3 to 6 months, depending on how often you use it. However, you should wipe up any major spills as soon as the oven has cooled down to prevent them from baking on further.
Can I use the baking soda method on the oven glass door?
Absolutely! The baking soda paste works wonders on the inside of the oven door. Apply the paste, let it sit for about 30 minutes, and then gently scrub and wipe it clean for a clear view of your culinary masterpieces.
Is the self-cleaning oven feature safe to use?
Yes, it is generally safe, but it’s crucial to follow your manufacturer’s instructions. The process can create some smoke and odors, so ensure your kitchen is well-ventilated. Also, remove the oven racks before starting, as the high heat can damage their finish.
What should I not use to clean my oven?
Avoid using abrasive scrubbers like steel wool or harsh scouring pads on the interior, as they can scratch the surface. Also, never spray cleaner or water directly on the heating elements or the fan in a convection oven.
Can I use baking soda and vinegar inside a self-cleaning oven?
Yes, the natural baking soda and vinegar method is perfectly safe for a light, manual clean inside a self-cleaning oven. It’s a great option for tackling smaller messes in between deep-cleaning cycles.
Learning how to clean an oven is one of those skills that elevates your entire kitchen experience. It’s a simple act of care that pays you back with better performance, safer cooking, and delicious results. A sparkling clean oven isn’t just an appliance; it’s a blank canvas, ready and waiting for your next creative adventure. Now, go forth and bake with confidence! We’d love to hear about your own cleaning tips or your favorite dish to make in your pristine Oven Hi in the comments below.
Frequently Asked Questions
How often should I clean my oven for optimal performance?
For a deep clean, a good rule of thumb is every 3 to 6 months, depending on how often you use it. However, you should wipe up any major spills as soon as the oven has cooled down to prevent them from baking on further.
Can the baking soda method be used on the oven glass door?
Absolutely! The baking soda paste works wonders on the inside of the oven door. Apply the paste, let it sit for about 30 minutes, and then gently scrub and wipe it clean for a clear view of your culinary masterpieces.
Is the self-cleaning oven feature safe to operate?
Yes, it is generally safe, but it's crucial to follow your manufacturer's instructions. The process can create some smoke and odors, so ensure your kitchen is well-ventilated. Also, remove the oven racks before starting, as the high heat can damage their finish.
What cleaning products should I avoid using inside my oven?
Avoid using abrasive scrubbers like steel wool or harsh scouring pads on the interior, as they can scratch the surface. Also, never spray cleaner or water directly on the heating elements or the fan in a convection oven.
Is the baking soda and vinegar method suitable for self-cleaning ovens?
Yes, the natural baking soda and vinegar method is perfectly safe for a light, manual clean inside a self-cleaning oven. It's a great option for tackling smaller messes in between deep-cleaning cycles.
Clean an Oven with Baking Soda and Vinegar
This guide outlines how to clean your oven using an all-natural baking soda and vinegar method, requiring minimal ingredients and patience.
In a small bowl, mix about 1/2 cup of baking soda with 3 tablespoons of water. Adjust the ratio as needed until you have a thick, spreadable paste, similar to cake frosting.
Using gloved hands or a spatula, spread the paste all over the interior surfaces of your oven, avoiding heating elements. Ensure stubborn, burnt-on spots are well-coated. The paste will turn brownish, which is normal.
Close the oven door and let the baking soda paste sit for at least 12 hours, or overnight. This allows the baking soda to effectively break down grime and baked-on food residue.
After the resting period, use a damp dishcloth to wipe out as much of the dried baking soda paste as possible. A plastic or silicone spatula can assist in scraping off particularly stubborn bits.
Pour white vinegar into a spray bottle and spray it anywhere you still see baking soda residue; it will foam gently. With a damp cloth, give the oven one last thorough wipe-down, rinsing the cloth until all residue is gone and the oven shines.
Cooking gear we tested in our own kitchens
Free PDF — preheat times measured on 10 popular air fryers.
I used the baking soda and vinegar paste method mentioned for my old oven, and wow, what a difference! It took a bit of elbow grease, but it really got rid of all the baked-on grime that’s been there for ages. My kitchen smells so much better now, and I feel safer knowing there’s no more grease buildup. Definitely recommend this natural approach.
I used to dread cleaning my oven, but after reading about the fire hazard aspect, I decided to tackle it. I followed the advice to make sure the oven was cool and unplugged, which seems obvious but I probably would have forgotten. The results were fantastic, and it actually heats more evenly now. My roasts are coming out perfect!
My oven has a self-cleaning feature, and while it’s convenient, I found it still left some stubborn spots, especially around the door seal. I had to go back in with a commercial cleaner to get it truly sparkling. It’s good for a quick refresh, but don’t expect it to do all the heavy lifting for a really deep clean every 3 months like I was hoping.
I’ve always put off cleaning my oven, but the point about food tasting better really hit home. I tried one of the commercial oven cleaners, and it worked pretty well on the heavy grease. Just make sure to ventilate your kitchen really well; the fumes were a bit strong. My cookies definitely taste less ‘smoky’ now!