Hello, fellow food lovers! Welcome to the Oven Hi family, where we believe every kitchen has a story to tell. Let’s be honest, we’ve all been there—staring at our oven’s control panel, a bit baffled by that one setting we rarely touch: “Broil.” It feels a bit mysterious, maybe even intimidating. But what if I told you that button is your secret weapon for achieving restaurant-quality results at home? Learning How To Use The Broil Setting is like unlocking a new level in your culinary game. It’s the key to perfectly caramelized salmon, bubbly, golden-brown cheese on your lasagna, and veggies with that delightful char. So, grab your apron, and let’s demystify this powerful tool together. Your Oven Hi is more than an appliance; it’s your partner in crime for creating delicious memories.
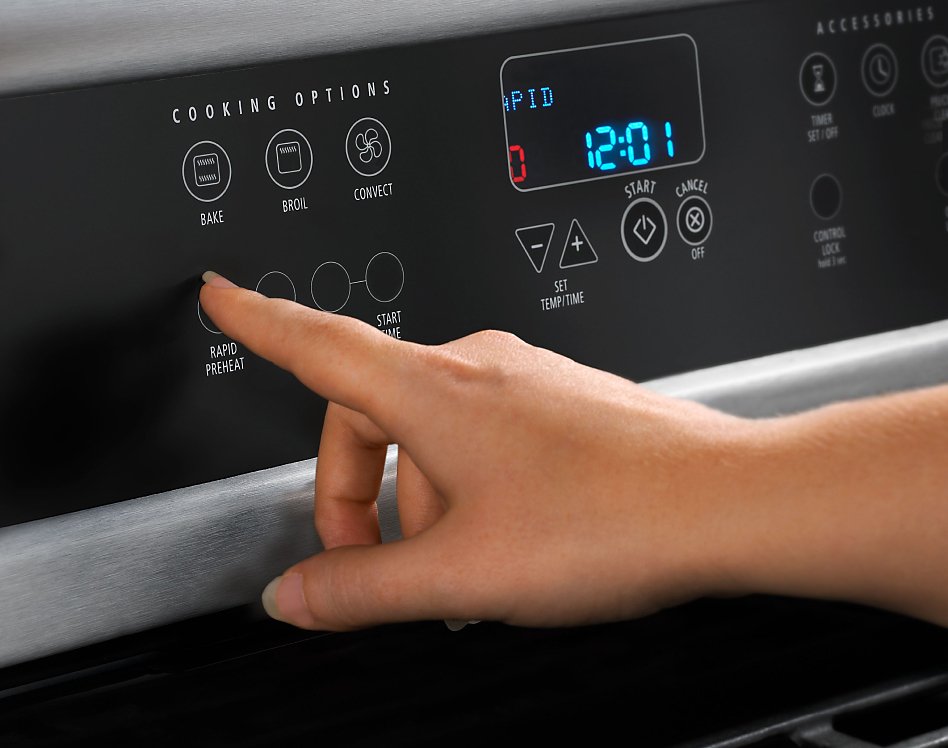
What Exactly is the Broil Setting, Anyway?
Think of your oven’s broil setting as an upside-down grill. While baking uses ambient heat to surround and cook food slowly from all sides, broiling uses intense, direct, top-down heat from a heating element at the very top of your oven. This high-temperature radiation cooks food incredibly fast, making it perfect for searing, browning, and charring the surface of foods without overcooking the inside.
This process is what gives a steak that gorgeous crust, melts and browns the cheese on a French onion soup, and gives a beautiful blistered skin to bell peppers. It’s all about speed and intense, direct heat.
Broil vs. Bake: What’s the Real Difference?
It’s easy to get baking and broiling confused, but they are fundamentally different cooking methods with very different outcomes. Understanding the distinction is the first step in mastering how to use the broil setting effectively.
| Feature | Baking | Broiling |
|---|---|---|
| Heat Source | Heating elements at the bottom (and sometimes top/back) | Heating element exclusively at the top of the oven |
| Heat Type | Indirect, ambient heat that circulates | Intense, direct, radiant heat from above |
| Cooking Speed | Slower, for cooking food all the way through | Very fast, primarily for cooking the surface |
| Best For | Cakes, breads, casseroles, roasts | Thin cuts of meat, finishing dishes, charring vegetables |
| Oven Door | Kept closed to maintain temperature | Often kept slightly ajar (check your oven manual) |
Bảng trống.Oven Hi Expert Tip: The Maillard reaction—that magical chemical process that gives browned food its distinctive flavor—happens incredibly fast under the broiler. This is why broiled foods often have a deeper, more complex flavor profile on their surface.
Your Step-by-Step Guide on How to Use the Broil Setting
Ready to give it a try? It’s simpler than you think. Following these steps will ensure you get perfect results every time, turning you into a confident broiling master.
Step 1: Prep Your Food and Your Pan
First things first, get your food ready. Because broiling is so fast, you want everything prepped and good to go before you even turn the oven on.
- Pat it Dry: For meats, fish, and even vegetables, patting them completely dry with a paper towel is crucial. Moisture will steam the food instead of searing it, and we’re after that beautiful brown crust.
- Choose the Right Pan: This is non-negotiable. Never use glass or ceramic bakeware under the broiler. The intense, direct heat can cause it to shatter, a phenomenon known as thermal shock. Instead, opt for a sturdy metal broiler pan (the two-piece kind with a slotted top is ideal), a cast-iron skillet, or a heavy-duty, rimmed baking sheet.
- Oil Lightly: A light coating of oil can help prevent sticking and promote browning, but don’t overdo it. Too much oil can smoke or even ignite under the high heat.
Step 2: Position the Oven Rack
This is arguably the most important step in broiling. The distance between your food and the heating element determines how quickly it cooks and how intense the char will be.
- For a hard, fast sear (e.g., thin steaks, garlic bread): Place the rack in the highest or second-highest position, about 3-5 inches from the broiling element.
- For slower broiling or thicker items (e.g., chicken breasts, thicker fish fillets): Place the rack lower down, about 6-8 inches from the element. This allows the food to cook through more before the surface burns.
Step 3: Set Your Broiler (High vs. Low)
Most modern ovens, including your trusty Oven Hi, offer both a “High Broil” and “Low Broil” setting.
- High Broil (around 550°F / 288°C): This is your go-to for most tasks. It’s perfect for thin cuts of meat, melting cheese, and getting a quick char.
- Low Broil (around 450°F / 232°C): Use this for thicker foods that need a bit more time to cook through without the surface turning to charcoal, like bone-in chicken pieces or denser vegetables.
Always preheat the broiler for 5-10 minutes before putting your food in. You want that element glowing red-hot and ready for action the second your food enters the oven.
Step 4: The Golden Rule – Never Walk Away!
If there’s one thing to take away from this guide, it’s this. Broiling is not a “set it and forget it” cooking method. Food can go from perfectly browned to a burnt, smoking mess in a matter of seconds. Seriously.
Stay in the kitchen, keep an eye on your food, and use the oven light. Some chefs recommend keeping the oven door slightly ajar to allow for better airflow and to help you keep a closer watch, but always check your oven’s manual first, as some newer models require the door to be closed for the broiler to function.
Step 5: Know When It’s Done
Use your eyes, your nose, and a food thermometer. You’re looking for that perfect level of browning and char. For meats, a quick-read thermometer is your best friend to ensure it’s cooked to a safe internal temperature without being overdone. Once it’s ready, carefully remove the pan from the oven using sturdy oven mitts—that pan will be incredibly hot!
What Foods Are Best for Broiling?
Now for the fun part! Once you know how to use the broil setting, a world of culinary possibilities opens up. Here are some of my favorite things to broil:
- Thin Cuts of Meat: Flank steak, skirt steak, lamb chops, and pork chops cook beautifully.
- Fish and Seafood: Salmon fillets, tilapia, shrimp, and scallops are fantastic. The high heat gives salmon a crispy skin that’s to die for.
- Vegetables: Asparagus, bell peppers, zucchini, onions, and even broccoli florets get a wonderful smoky char.
- Fruits: Grapefruit or pineapple slices topped with a little brown sugar will caramelize into a delicious dessert.
- Finishing Touches: This is where the broiler truly shines. Use it to get a bubbly, brown top on macaroni and cheese, lasagna, or shepherd’s pie. It’s also perfect for toasting garlic bread or making bruschetta.
Common Broiling Mistakes and How to Avoid Them
We all make mistakes in the kitchen; it’s how we learn! Here are a few common broiling blunders I’ve seen and how you can sidestep them.
- Walking Away: We’ve covered this, but it bears repeating. Stay put!
- Using the Wrong Pan: Again, no glass. It’s a safety hazard. Stick to metal.
- Crowding the Pan: Leaving space between your food items allows heat to circulate and brown them evenly. Overcrowding will cause them to steam.
- Forgetting to Flip: For items that need to be cooked on both sides, like a steak or chicken breast, remember to flip them halfway through the cooking time.
- Placing the Rack Incorrectly: Putting delicate food too close to the element is a recipe for disaster. Think about what you’re cooking and adjust the rack height accordingly.
As our friend and celebrated chef Eleanor Vance always says, “The broiler demands your respect and your attention. Give it both, and it will reward you with flavor you simply can’t achieve any other way. It’s the closest thing to cooking with fire you can get in your home kitchen.”
Frequently Asked Questions (FAQ)
Q: Can I use aluminum foil when broiling?
A: Yes, you can line your broiler pan or baking sheet with aluminum foil for easier cleanup. However, be sure to poke holes in it if you’re using a slotted broiler pan to allow fat to drain away. For extra safety, some experts recommend using heavy-duty foil.
Q: How far should food be from the broiler?
A: It depends on the food. As a general rule, position the oven rack so the top of your food is 3-5 inches away for fast-cooking items and 6-8 inches away for thicker items that need more time.
Q: What’s the difference between high and low broil?
A: High broil provides the most intense, direct heat (around 550°F) and is best for quick searing and browning. Low broil is slightly less intense (around 450°F) and is better for thicker foods that need to cook through without burning on the surface.
Q: Can you broil in a glass dish?
A: No, you should never use a glass dish like Pyrex under the broiler. The extreme and direct temperature change can cause the glass to shatter. Always use metal cookware, like a broiler pan, cast-iron skillet, or a heavy-duty baking sheet.
Q: Does the oven door need to be open when broiling?
A: This depends on your oven model. Traditionally, the advice was to leave the door slightly ajar to prevent the oven from overheating and cycling off. However, many modern ovens are designed to broil with the door closed. Always consult your oven’s instruction manual for the correct procedure.
Learning how to use the broil setting transforms your oven from a simple baking box into a versatile, high-performance cooking machine. It’s the secret to that perfect crust, that bubbly cheese, and that delicious char that elevates a simple meal into something special. So go ahead, be brave! Embrace the broil. We can’t wait to see the amazing dishes you create with your Oven Hi. Share your broiling successes and questions with our community—we’re all on this delicious journey together.