Hello, fellow food lover! Welcome to the Oven Hi family. There’s a special kind of thrill that comes with unboxing a brand new appliance, isn’t there? It’s the promise of future feasts, fragrant baked goods, and countless shared memories. If that new box contains a beautiful wall oven, you’re on the cusp of transforming your kitchen’s heart. But first, there’s the small matter of getting it from the box into the wall. That’s why we’ve put together this comprehensive Wall Oven Installation Guide. We know it can seem like a big job, but think of us as your friendly co-pilot. We’ll walk you through everything, step-by-step, turning a potentially tricky task into a rewarding project.
Before We Begin: A Quick Trip in the Oven Time Machine
Have you ever wondered how we got from open fires to the sleek, smart ovens of today? The journey is fascinating! For centuries, cooking was a rustic affair over hearths and in stone-lined pits. The first cast-iron stoves in the 18th century were a revolution, but they were bulky, messy beasts. It wasn’t until the advent of gas and electricity in the late 19th and early 20th centuries that the modern oven began to take shape.
The concept of a separate wall oven, however, is a more recent innovation, born from the mid-century modern design movement that prioritized clean lines, ergonomic function, and integrated kitchens. By separating the cooktop from the oven, designers gave homeowners incredible flexibility. No more bending down to check on a roast! This evolution is why your new wall oven isn’t just a box that heats up; it’s a piece of design history, engineered for convenience and culinary excellence.
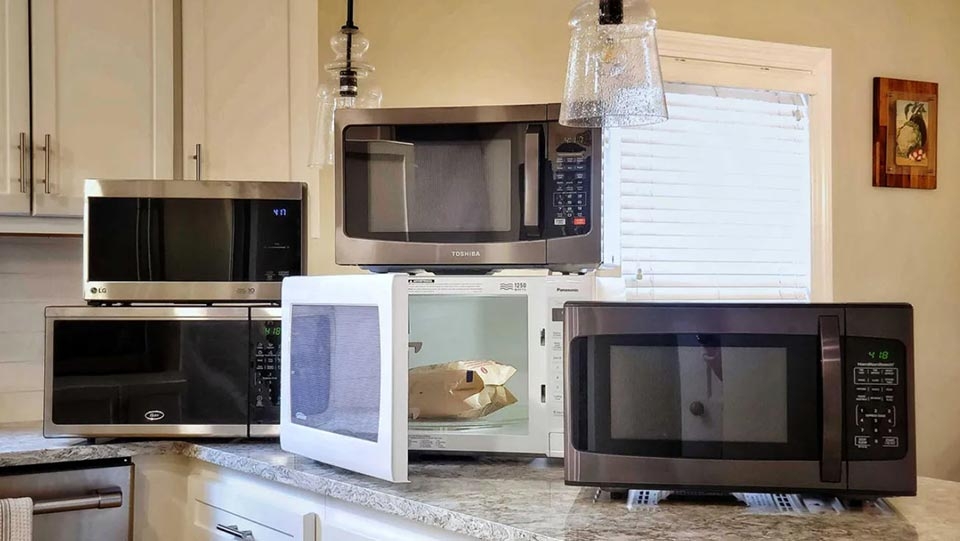
What Kind of Wall Oven Are You Installing?
Before we get our tools out, let’s talk about what you’re working with. Understanding your oven’s type is key because it can influence specific installation needs. Today’s wall ovens are marvels of technology.
- Conventional/Thermal Ovens: The classic workhorse. These use a stationary heating element, usually at the bottom, to cook food. They are straightforward to install and operate.
- Convection Ovens: These are the gold standard for most bakers. A fan circulates hot air, resulting in faster, more even cooking. They require the same basic installation as a conventional oven but are a game-changer for everything from roasted chicken to perfect cookies.
- Steam Ovens: The secret weapon of professional chefs! These ovens inject steam into the cooking process, which is fantastic for baking crusty bread, roasting juicy meats, and reviving leftovers. Installation note: Some models may require a dedicated water line, which adds a plumbing step to your project.
- Smart Ovens: These Wi-Fi-enabled wonders let you preheat your oven from the grocery store, follow guided recipes on a screen, and even use voice commands. Installation note: You’ll want to ensure you have a strong Wi-Fi signal in your kitchen for these features to work seamlessly.
No matter the type, the basic principle is the same: creating a controlled, high-heat environment to transform ingredients through the magic of cooking.
Your Pre-Installation Checklist: Measure Twice, Install Once
As the old saying goes, “An ounce of prevention is worth a pound of cure.” In the world of appliance installation, that ounce of prevention is a tape measure and a little bit of planning. Getting this part right is the most critical step in any wall oven installation guide.
“The number one mistake I see homeowners make is not confirming their cabinet cutout dimensions and electrical supply before the oven arrives,” warns John Carter, an appliance specialist with over 15 years in the field. “Fixing a cabinet is a much bigger headache than double-checking your numbers.”
Here’s your essential checklist before you even think about lifting the oven:
- Measure Your Cabinet Cutout: Use a reliable tape measure to get the exact height, width, and depth of the opening. Don’t just eyeball it! Your oven’s specification sheet will list the required cutout dimensions. Make sure your opening matches, leaving no room for surprise.
- Check Your Electrical Supply: This is non-negotiable. Wall ovens are powerful appliances.
- Voltage: Most single wall ovens in North America require a dedicated 240-volt circuit. This is different from a standard 120-volt wall outlet.
- Amperage: Check the oven’s specs for the required amperage (usually 30 or 40 amps) and ensure your circuit breaker matches.
- Wiring: You will typically be connecting to a 3-wire or 4-wire circuit. Identify what you have in your junction box. If any of this sounds confusing, this is the point to call a licensed electrician. Electrical safety is paramount.
- Confirm Cabinet Integrity: Ensure the cabinet and shelving that will support the oven are sturdy and can handle its weight (often over 100 pounds or 45 kg). The platform must be level.
- Clear the Area: Make sure you have a clear path from where you unbox the oven to the cabinet. Lay down some cardboard to protect your floors.
The Main Event: A Step-by-Step Wall Oven Installation Guide
Alright, checklist complete? Tools at the ready? Let’s do this. Remember to have a friend on hand—wall ovens are heavy and awkward to lift alone.
- Safety First: Turn Off the Power!
Go to your home’s main electrical panel (breaker box) and find the circuit breaker for the oven. Switch it to the “OFF” position. Use a voltage tester at the junction box in your cabinet to be 100% certain there is no power. There are no shortcuts when it comes to electricity. - Unpack and Inspect
Carefully unbox your new Oven Hi companion. Remove all the packaging, tape, and zip ties. Take out the racks and any other accessories from inside to make it lighter. Give the oven a thorough inspection to check for any shipping damage. It’s much easier to deal with this now than after it’s installed. - Prepare the Oven’s Electrical Connection (The “Pigtail”)
Your oven will have a flexible electrical conduit, often called a “pigtail.” You’ll need to connect this to the wiring in the junction box in your wall. Follow the manufacturer’s instructions exactly, as the color-coding for 3-wire and 4-wire systems is different. Typically, you’ll match the colored wires (black to black, red to red) and connect the ground/neutral wires as directed. Secure these connections with wire nuts. - The Big Lift: Placing the Oven
This is where your helper is essential. Lift the oven together and slide it partially into the cabinet opening, being careful not to pinch the electrical conduit. Guide the conduit and the connected wires back into the junction box. - Slide and Center
Gently push the oven the rest of the way into the cabinet. It should be a snug fit. Center it in the opening, ensuring the trim on the oven’s face is flush and even against the cabinet on all sides. Use a level to make sure the oven isn’t tilted, as this can affect baking performance. - Secure the Oven
Open the oven door. You will see screw holes in the front frame (trim). Use the screws provided by the manufacturer to anchor the oven to the cabinet frame. Don’t overtighten them, just make them snug. This prevents the oven from tipping forward when you open the door or pull out a heavy rack. - The Moment of Truth: Power On!
Head back to the breaker box and switch the oven’s circuit back to the “ON” position. The oven’s clock or display should light up. Congratulations, you’ve successfully completed the physical installation!
What Happens After the Installation?
You’re not quite done yet! The first thing you should do is what’s often called a “burn-in.”
Running the First Cycle
New ovens have residual manufacturing oils on the interior surfaces. You need to burn these off before you cook any food in it.
- Ensure your kitchen is well-ventilated. Open some windows and turn on your range hood fan. It might smell a bit like burning plastic—this is normal.
- Set your oven to a high temperature (around 400°F or 200°C) and let it run for 30-60 minutes.
- After the time is up, turn the oven off and let it cool completely.
- Once cool, wipe down the interior with a damp cloth.
Long-Term Care and Cleaning
To keep your oven performing beautifully for years, a little maintenance goes a long way. Clean up spills as soon as the oven is cool to prevent them from baking on. For a deep clean, follow the manufacturer’s guide for your oven’s self-clean feature, if it has one. Remember to remove the racks before starting a high-heat self-clean cycle!
Frequently Asked Questions (FAQ)
Q: Can I install a wall oven myself?
A: Yes, if you are comfortable with basic DIY skills, heavy lifting, and—most importantly—basic electrical wiring. If you have any doubt about the electrical work, it is always safest and best to hire a licensed electrician.
Q: How much does professional wall oven installation cost?
A: The cost can vary widely depending on your location and the complexity of the job, but you can typically expect to pay between $150 and $400 for a straightforward replacement. Costs increase if new wiring or cabinet modifications are needed.
Q: Do wall ovens need a dedicated circuit?
A: Absolutely. Wall ovens draw a significant amount of power and require their own dedicated 240-volt circuit to operate safely and effectively. Never attempt to plug one into a standard wall outlet.
Q: How long does it take to install a wall oven?
A: For a straightforward replacement where the cabinet and electrical are already prepared, the process can take as little as one to two hours. If modifications are needed, it will take longer.
Q: Can I put a wall oven under a counter?
A: Yes, many wall ovens are rated for under-counter installation. However, you must check the manufacturer’s specifications to ensure the model you choose is approved for this type of placement, as it requires specific ventilation.
Your Culinary Journey Awaits
And there you have it! By following this wall oven installation guide, you’ve done more than just install an appliance; you’ve set the stage for countless delicious creations. You’ve taken a hands-on role in shaping the heart of your home. Now, the real fun begins. What will you bake first? A celebratory batch of gooey chocolate chip cookies? A perfectly roasted chicken? The possibilities are endless. From all of us here at Oven Hi, happy baking! We’d love to hear about your installation experience in the comments below.