There you are, midway through baking a masterpiece. Maybe it’s your famous sourdough, a batch of gooey chocolate chip cookies, or a beautiful Sunday roast. You lean in to peek through the glass, anticipating that perfect golden-brown color, only to be met with… darkness. The sudden gloom inside your oven can feel like a major hiccup, but don’t panic! Learning How To Replace An Oven Light Bulb is one of the simplest, most empowering DIY tasks you can master in your kitchen. Here at Oven Hi, we believe that your oven is your creative partner, and keeping it in top shape, right down to its smallest light, is key to a joyful baking journey. Let’s walk through this easy fix together and get your culinary stage brightly lit once again.
First Things First: Why You Can’t Just Use Any Old Bulb
Before we roll up our sleeves, let’s address a common question: “Can I just grab a regular light bulb from the lamp in the living room?” The short answer is a definitive no. It’s tempting, I know, but it’s a recipe for a tiny disaster.
“Oven bulbs are specially designed to withstand extreme temperatures, often up to 500°F (or 260°C),” notes Sarah Jenkins, our lead appliance technician at Oven Hi. “A standard bulb would crack or shatter under that kind of heat, creating a dangerous mess of glass and filament inside your oven.”
Oven-specific bulbs, often called “appliance bulbs,” are built with heat-resistant glass and high-temperature adhesives to keep them intact. Using the correct bulb isn’t just a suggestion; it’s a critical safety measure.
Gathering Your Tools: The Pre-Flight Checklist
The good news is you won’t need a massive toolbox for this job. Most of the time, all you need are your own two hands. However, it’s wise to have a couple of things ready just in case you run into a stubborn part.
- The Correct Replacement Bulb: This is the star of the show. Check your oven’s manual for the specific type (e.g., E14, G9) and wattage (usually 25W or 40W). If you’ve lost the manual, you can often find the info on the manufacturer’s website or by taking the old bulb to an appliance or hardware store.
- A Dry Cloth or a Pair of Gloves: The oils from your fingers can create hot spots on a new halogen bulb, causing it to burn out prematurely. It’s best practice to handle the new bulb with a cloth or gloves.
- Optional: A Small Flathead Screwdriver or Pliers: These are for “just in case” scenarios, like if the light cover is on too tight. We’ll get to that.
Let There Be Light: A Step-by-Step Guide on How to Replace an Oven Light Bulb
Ready? This entire process should take you less than five minutes. It’s quicker than preheating!
- Safety Above All: Cut the Power!
This is the most important step. Do not skip it. You’re working with electricity, so you must ensure the oven has no power running to it. The easiest way is to unplug the oven completely from the wall outlet. If it’s hardwired, go to your home’s breaker box and flip the switch that controls the oven. Give the oven knob a twist to make sure it doesn’t turn on. - Let It Cool Down
If you were just using the oven, give it plenty of time to cool down completely. You don’t want to be reaching into a hot oven and risk burning yourself. - Locate the Light Bulb and Its Cover
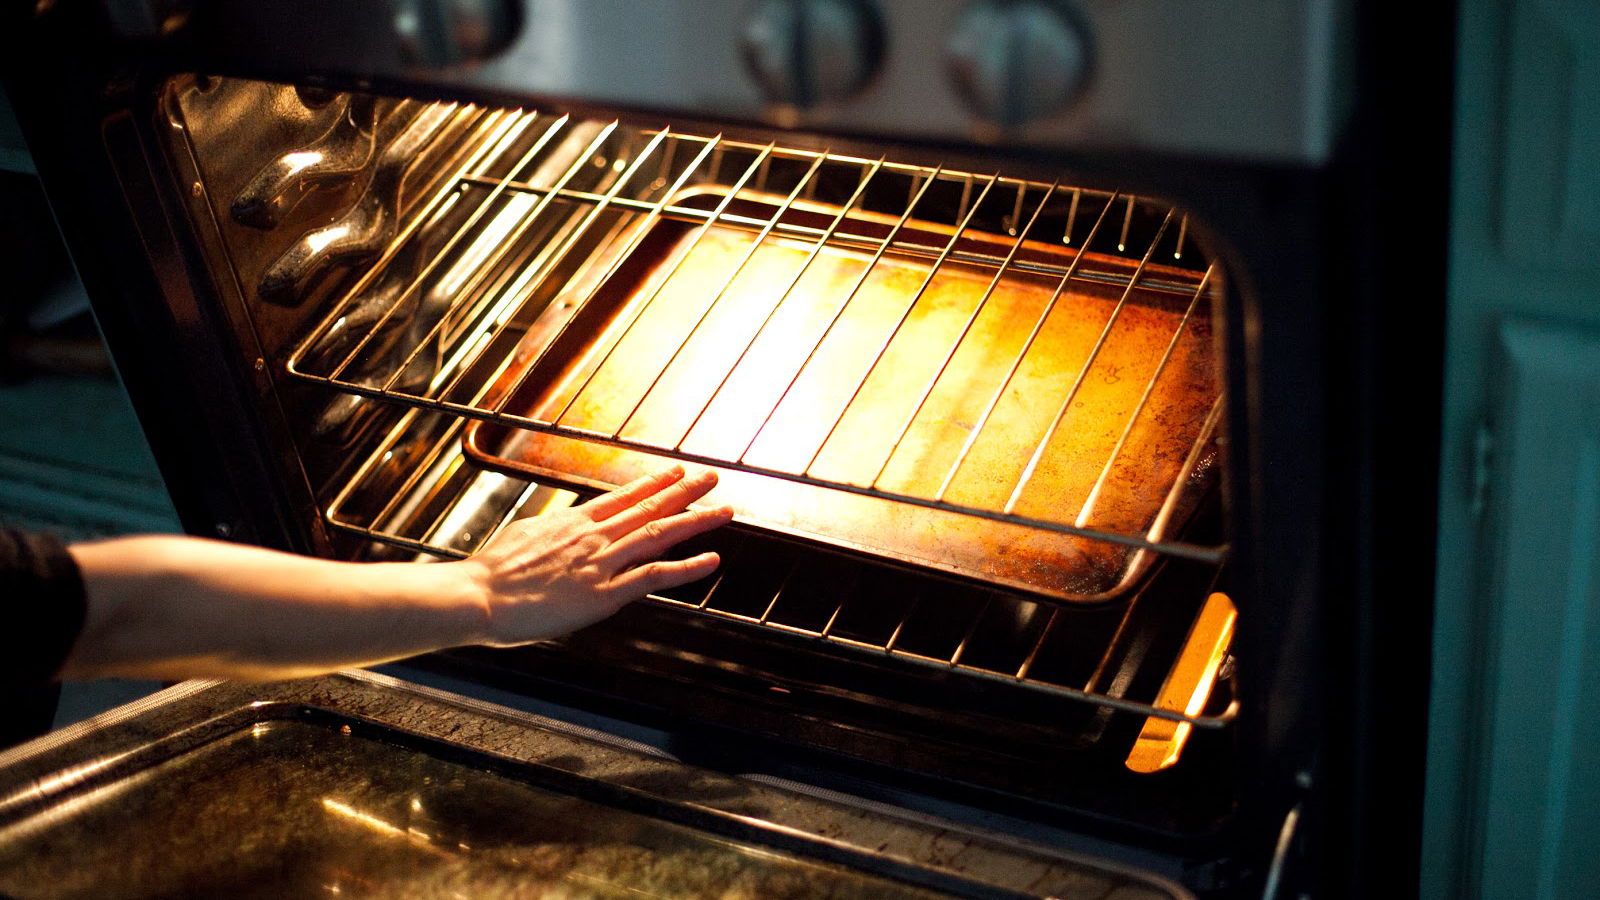
Open the oven door and look inside. The light is usually located in one of the back corners, either on the top or side wall. It will be protected by a cover, which is typically a round or rectangular piece of glass or metal held in place by threads or a wire clip. - Remove the Protective Cover
- For screw-on covers: Most covers simply unscrew counter-clockwise. They can sometimes be a bit greasy or tight from the heat, so use a dry cloth to get a better grip.
- For wire clip covers: Some models have a small wire clip holding the cover in place. You may need to gently pry this clip off with your fingers or the tip of a flathead screwdriver.
- Unscrew the Old Bulb
With the cover removed, you’ll see the old bulb. Just like a regular light bulb, turn it counter-clockwise to unscrew it from the socket. It should come out easily. - Install the New Bulb
Wearing gloves or using a dry cloth, take your shiny new appliance bulb and gently screw it into the socket clockwise. Turn it until it’s snug, but don’t overtighten it, as this could damage the bulb or the socket. - Replace the Cover
Put the protective cover back on. Screw it back in place or re-secure the wire clip. Make sure it’s secure to protect the bulb from any food splatters. - Restore the Power and Test It Out!
Now for the moment of truth. Plug your oven back in or flip the breaker on. Turn on the oven light switch or open the door. Voilà! Your oven interior should be beautifully illuminated once again.
Troubleshooting: What If Things Get Stuck?
Sometimes, a seemingly simple task hits a snag. Don’t worry, it happens to the best of us. Here are a couple of common issues and how to solve them.
What if the light cover won’t budge?
Grease and heat can sometimes bake the cover on tight, making it feel like it’s glued in place.
- Improve your grip: Use a rubber jar opener or a silicone oven mitt for extra traction.
- A gentle tap: Try gently tapping the side of the cover with the wooden handle of a screwdriver to help break the seal. Be very careful not to crack the glass.
- The last resort: If it’s a metal cover and really stuck, you can try using a pair of channel-lock pliers. Pad the jaws with a thick cloth to avoid scratching or damaging the cover, get a firm grip, and turn slowly.
What if the bulb itself breaks while you’re trying to remove it?
It’s rare, but if the glass part of the bulb breaks, leaving the metal base in the socket, you’ll need to be extra careful.
- Double-check the power is off. This is now more important than ever.
- Use a pair of needle-nose pliers to grip the edge of the metal base and carefully twist it counter-clockwise to remove it.
- Alternatively, a neat trick is to firmly press half of a raw potato onto the broken base. The soft potato will grip the metal edges, allowing you to twist the base out safely.
Beyond the Bulb: The Importance of a Well-Lit Oven
You might think an oven light is a small luxury, but it plays a surprisingly big role in your cooking success. Every time you open the oven door to check on your food, you release a significant amount of heat—sometimes causing the temperature to drop by 25-50°F. This fluctuation can ruin delicate bakes like soufflés, cheesecakes, and even simple cakes, causing them to fall or cook unevenly.
A working oven light allows you to monitor your food’s progress without ever opening the door, ensuring a stable, consistent cooking environment. It’s the window to your culinary world, letting you watch the magic happen as bread rises, cheese bubbles, and pastries turn a perfect golden brown. It’s an essential tool for any passionate home cook.
Frequently Asked Questions
How often should I replace my oven light bulb?
There’s no set schedule. An appliance bulb can last for a couple of years, but its lifespan depends on how often you use your oven and the light itself. Replace it whenever it burns out.
Why does my new oven bulb seem to burn out so fast?
If you’re going through bulbs quickly, there could be a few culprits. First, make sure you’re using a genuine appliance bulb. Second, avoid touching a new halogen bulb with your bare hands. Finally, it could indicate a minor issue with the socket or voltage, but that’s less common.
Are all oven light bulbs the same?
No, they come in different sizes, shapes, and base types (like screw-in or push-in). Always refer to your oven’s manual to ensure you buy the correct replacement for your specific Oven Hi model or other brand.
Can I use a higher wattage bulb for a brighter light?
It’s strongly recommended to stick to the manufacturer’s specified wattage. Using a bulb with a higher wattage can generate too much heat for the fixture and wiring, creating a potential fire hazard.
Is it really that important to turn off the power at the breaker?
Yes, absolutely. While unplugging the appliance is sufficient, turning it off at the breaker is the most surefire way to guarantee there is no electrical current, ensuring your complete safety during the replacement process.
A Bright Conclusion to a Simple Task
See? Learning how to replace an oven light bulb is a quick win that makes a huge difference. It’s a small act of kitchen care that keeps your beloved Oven Hi companion in perfect working order, ready for your next culinary adventure. By taking a few minutes to bring back the light, you ensure your bakes are not only delicious but also a joy to watch.
Now that your oven is bright and ready, what masterpiece will you create next? Share your illuminated baking stories with our community! We love seeing how you and your Oven Hi are making the kitchen the true heart of your home.