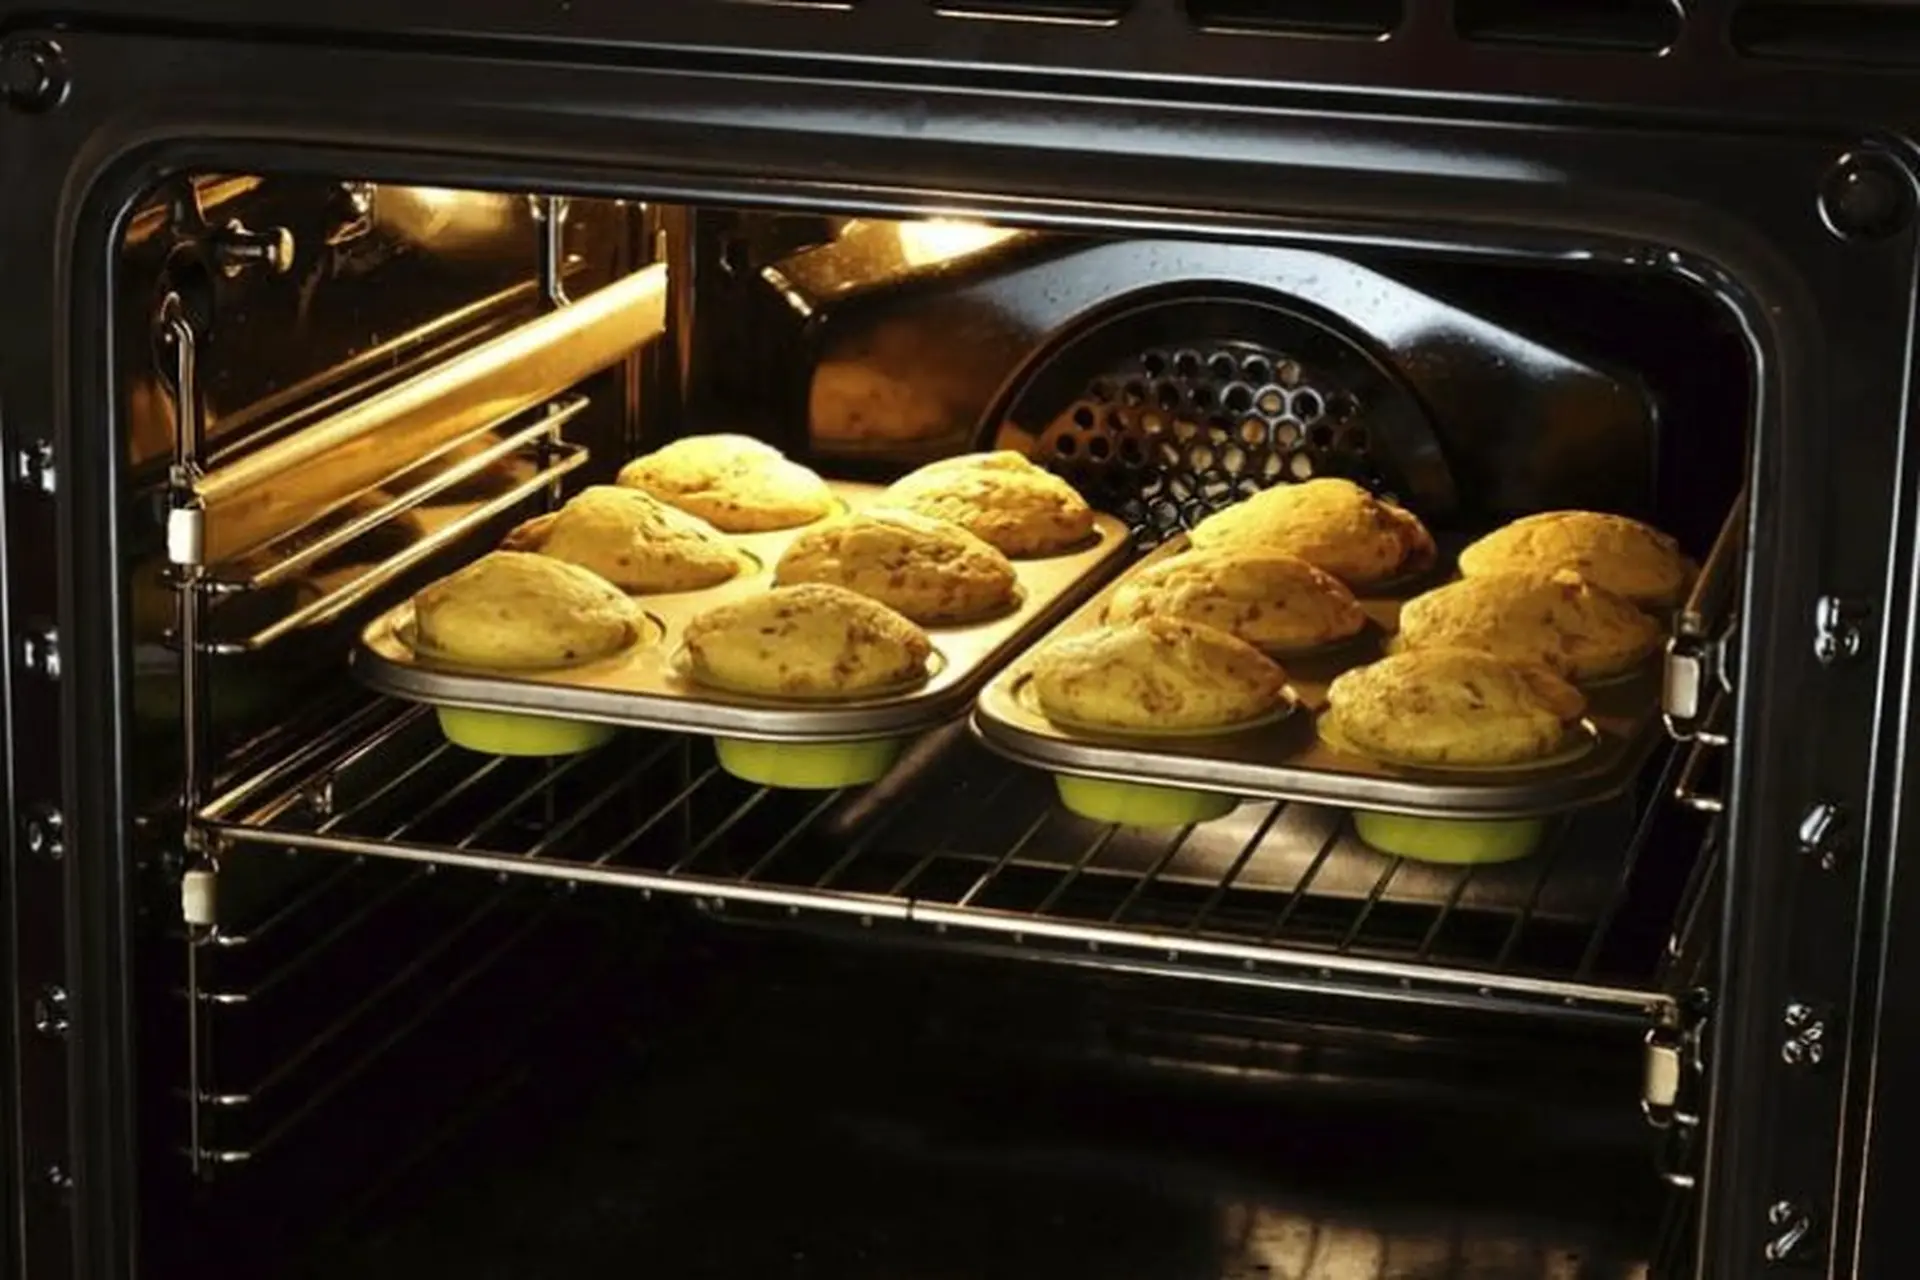
Let’s be honest, we’ve all been there. You pull out a perfectly baked batch of cookies, only to be met with the ghost of last Sunday’s roast chicken—a battlefield of baked-on grease and splatters. The thought of scrubbing it clean is enough to zap the joy right out of your culinary creation. But what if your oven could handle the dirty work for you? Learning How To Use The Self Clean Feature On An Oven is like discovering a secret superpower for your kitchen. It’s a game-changer that transforms one of the most dreaded kitchen chores into a simple, hands-off process.
Here at Oven Hi, we believe your oven should be your creative partner, not another task on your to-do list. This guide will walk you through everything you need to know, turning that mysterious “Self-Clean” button into your new best friend. We’ll demystify the process, cover crucial safety tips, and ensure you get a sparkling clean oven every single time.
What Exactly is the Self-Clean Feature? The Magic Explained
So, what kind of sorcery is happening behind that locked oven door? It’s actually brilliant, high-temperature science. Most ovens use one of two methods for their self-cleaning cycles. Understanding which one your oven has can help you use it more effectively.
The High-Heat Hero: Pyrolytic Cleaning
This is the most common type of self-clean cycle. A pyrolytic cycle heats your oven to extremely high temperatures—we’re talking 800-1000°F (400-530°C). At this intense heat, any food residue, grease, and grime are incinerated and turned into a fine, powdery ash.
Expert Insight: John Carter, a kitchen appliance technician with over 15 years of experience, notes, “Pyrolytic cleaning is incredibly effective for heavy-duty messes. The sheer heat breaks down even the most stubborn, carbonized food spills. It’s a deep clean that you simply can’t replicate with elbow grease alone.”
The Gentle Giant: Steam Cleaning
A newer and more energy-efficient option, steam cleaning (sometimes called AquaLift or SteamClean) uses a lower temperature and the power of water. You simply pour a cup or two of distilled water into the bottom of the oven and start the cycle. The oven heats to a much lower temperature (around 250°F or 120°C), creating steam that softens and loosens light spills and grime, making them easy to wipe away afterward. This method is faster and produces fewer odors but is best for light, recent messes, not heavy, baked-on grease.
Before You Press Start: Prepping for a Safe Self-Clean Cycle
Preparation is key to a successful and safe cleaning cycle. Think of it as setting the stage for the main event. Skipping these steps can lead to excessive smoke, strong odors, or even damage to your oven or racks.
- Remove Everything: Take out all oven racks, the broiler pan, any thermometers, and especially any foil. The extreme heat of a pyrolytic cycle can warp, discolor, or damage these items. Some newer porcelain-coated racks are designed to withstand the cycle, but always check your oven’s manual to be sure. When in doubt, take them out.
- Wipe Up the Big Stuff: Grab a damp cloth and wipe away any large, loose food debris or puddles of grease. This isn’t about scrubbing; it’s about removing the excess fuel. The less material there is to burn off, the less smoke and odor the cycle will produce.
- Check the Gasket: The woven gasket around your oven door creates the seal needed for the cycle to work. Ensure it’s free of debris, but never scrub or clean it aggressively. It’s fragile and essential for your oven’s performance.
- Ventilate, Ventilate, Ventilate: This is non-negotiable. The process can release fumes and smoke, including small amounts of carbon monoxide. Open windows, turn on your kitchen’s exhaust fan, and ensure good airflow throughout your home before you begin.
- Consider Your Pets: Birds are especially sensitive to the fumes produced during a self-clean cycle and should be moved to another room or even out of the house. It’s also a good idea to keep other pets like cats and dogs in a well-ventilated area away from the kitchen.
A Step-by-Step Guide: How to Use the Self Clean Feature on an Oven
Ready for the magic? Once you’ve prepped the area, the process itself is wonderfully simple.
- Consult Your Manual: First things first. Every oven is slightly different. Your user manual is the ultimate authority on the specifics of your model, including cycle times and any unique features. If you’ve lost it, a quick search for your oven’s model number online will usually bring up a digital copy.
- Lock the Door: On most models, you’ll need to manually engage the door lock. For others, the oven will lock automatically once the cycle begins. The door will remain locked until the oven has cooled to a safe temperature after the cycle is complete.
- Select the Cycle: Press the “Self-Clean” or “Oven Clean” button. Many ovens will offer different cycle lengths, typically ranging from 2 to 4 hours. A shorter cycle is fine for a moderately dirty oven, while a longer one is better for heavy-duty jobs.
- Press Start and Walk Away: That’s it! The oven takes over from here. You can now relax and let your kitchen companion do the hard work. Just be sure to stay home and remain aware while the cycle is running.
- The Cool-Down Period: The cycle isn’t over when the timer goes off. The oven needs to cool down significantly before the door will unlock. This can take an additional 30 to 90 minutes. Be patient and don’t try to force the door open.
What to Expect: During and After the Cycle
Knowing what’s normal can prevent a lot of unnecessary panic.
- Unusual Smells: Yes, it’s going to smell a bit. The odor is the food residue burning off. This is why ventilation is so important. The smell is usually most noticeable the first time you use the feature or if the oven is particularly dirty.
- Light Smoke: Some light smoke coming from the oven vent is also normal. However, if you see excessive, thick smoke, it’s best to cancel the cycle, let the oven cool, and wipe out any large grease deposits you may have missed before trying again.
- The Final Ash: Once the oven has cooled and unlocked, you’ll be left with a small pile of fine, white or gray ash at the bottom. This is the triumphant remains of all that former gunk.
- The Final Wipe-Down: Simply take a damp cloth or a vacuum with a hose attachment and wipe away the ash. That’s all it takes to reveal your beautifully clean oven interior.
Checklist for Your Final Wipe-Down:
- [ ] Has the oven completely cooled down?
- [ ] Is the oven door unlocked?
- [ ] Use a damp, non-abrasive cloth.
- [ ] Wipe down the interior surfaces to remove all ash.
- [ ] Clean your oven racks separately before placing them back inside.
- [ ] Wipe the oven door gasket gently with a damp cloth if needed.
Frequently Asked Questions (FAQ)
Q1: How often should I use the self-clean feature on my oven?
A: Most manufacturers recommend using the self-clean feature 2 to 4 times a year, or whenever you notice heavy, baked-on soils. Using it too frequently can put unnecessary stress on the oven’s components.
Q2: Can I leave the house while the self-clean cycle is running?
A: It is strongly recommended that you stay home during the entire cycle. While the feature is generally safe, it involves extreme heat and it’s always best to be present in case of any malfunction or excessive smoke.
Q3: Why can’t I leave my oven racks in during the self-clean cycle?
A: The intense heat can strip the shiny finish off standard racks, making them dull and difficult to slide. In some cases, it can even warp them. Only racks specifically labeled as “self-clean safe” by the manufacturer should be left in.
Q4: What’s the best way to clean my oven racks?
A: The easiest way is to soak them in a bathtub with hot water and some dishwasher detergent or a dedicated oven cleaner. After soaking for a few hours or overnight, the grime should scrub off easily with a non-abrasive brush.
Q5: The self-clean smell is really strong. Is there anything I can do?
A: Excellent ventilation is the best defense. Open windows on opposite sides of the house to create a cross-breeze and run your range hood fan on high. The more you use the feature and keep your oven from getting excessively dirty, the less intense the smell will be.
A Clean Oven is a Happy Oven
Mastering how to use the self clean feature on an oven is more than just a cleaning hack; it’s about reclaiming your time and energy for what you truly love—creating delicious food and making memories in the heart of your home. It ensures your bakes taste pure, your roasts are perfect, and your trusty Oven Hi is always ready for the next culinary adventure.
Now that you’re armed with this knowledge, you can approach that button with confidence. Have you used your self-clean feature before? Share your experience or any tips you have in the comments below! We love hearing how our community makes the most of their kitchen companions.